Hello, World!

Originally posted at Cue.

It’s a classic programmer exercise. The point is to build a working development environment and a minimal program that does one thing: print out the words “Hello, World!”

Over the last 20 years, there’s been a shift.

Now the beginning exercise is often a todo list, because a simple, CRUD-based todo app is a step up from the “Hello, World!” exercise.

And frankly, in a world with LLM agent tooling, it’s something you can literally have built in less than an hour.

And yet, here I am, having spent years working on a simple todo app.

Why?

Building a simple product can be a surprisingly good way to practice complex skills.

Getting some working code isn’t where the complexity lies - it’s in building the right product.

I call it Cue. I use it every day, and have for years, so it clearly has value. It’s more than a toy, or an exercise. It’s much more than an AI agent would build in an hour.

In an ideal world, it would do all the things I want. But a clear product vision clarifies what problems it solves and doesn’t: Cue makes it easy for you to exercise judgement, plan, and execute, but does not make plans or decide for you. The vision also has lays out core concepts: early on, I decided side-by-side lists would be a defining model for using Cue.

Vision clarifies what problems will be solved; product management, design, and engineering are all about solving those with the proper tradeoffs. They make up the complex skill set that I get to learn and practice while building Cue.

I have to exercise product management, even though so far it only has one customer - me. But I experience the same challenge any product manager does - building something to solve the customer’s problem, even though the customer doesn’t always know the right way to do that.

Recently, I built out features for doing time block planning. It turned out to be an over-engineered disaster that made planning my days harder without adding any value. So I ripped it out and found I’m completely happy with a simple way to select multiple todos and drag and drop them.

I’ve learned to iterate until I figure it out. I built an implementation of the vision, with side by side lists. Then used it for a while to see what works, but also what gets on my nerves or confuses me. One early frustration was side by side lists on my phone, because they had to be scrolled horizontally. That’s fine, but it forced me to rethink how the sidebars worked (or didn’t). That cascaded into changes to how to initiate planning, finish planning, etc.

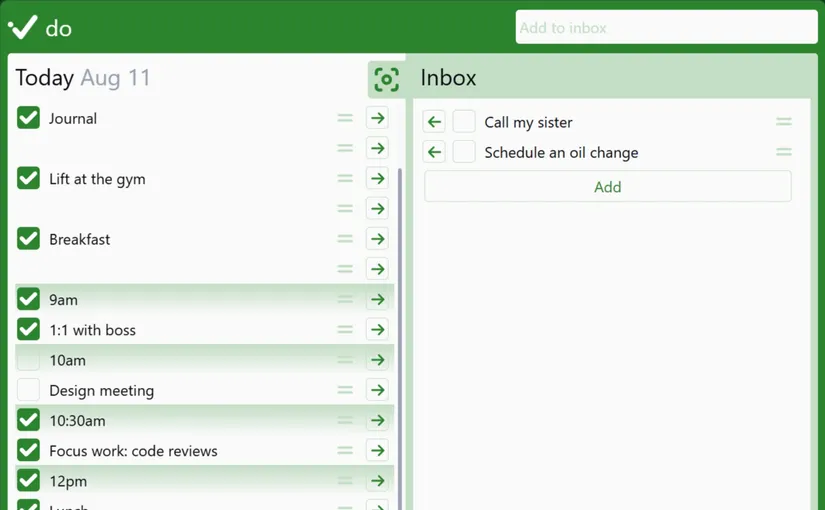
Those product decisions naturally led to design work and tradeoffs. Although this screenshot is showing pinned tasks, it’s fun to see all the other things that have changed.

Pinned tasks in Cue

Repeated daily use led to little changes that improved usability: the drag handle for todos has moved to the right, though you can also use the checkbox itself to drag them. The pinned state is now hidden behind a flyout menu, because it didn’t deserve to take up precious screen real estate (hint: click on the drag handle). I’ve gotten rid of a lot of the wasted border space. And I fixed that hideous green color.
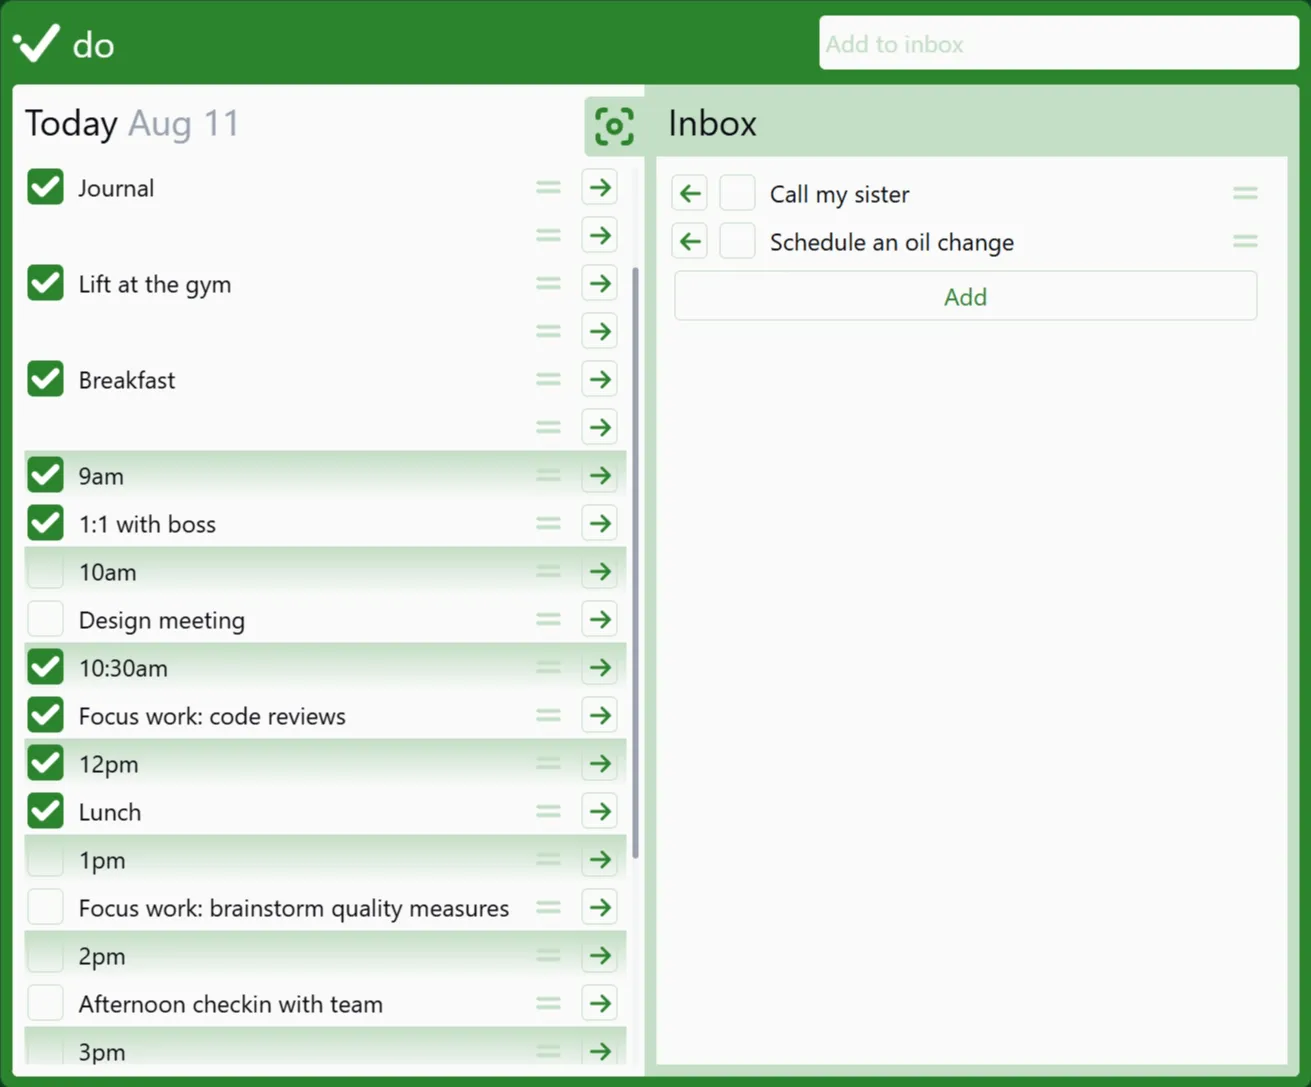
Side-by-side lists in Cue

Under the covers, I’ve also experimented with the underlying architecture. My first pass at Cue was built on Blockstack, back when everyone thought blockchains would be useful outside of finance. Then I rebuilt it using Google’s Firebase. Turns out it’s still around (I had to look it up). A while back, I switched to Ruby on Rails with Hotwire. More recently, it’s been fun to experiment with agents to build out new features, like dark mode, and see where they succeed, fail, or just need some extra hand-holding. Because Cue is both modest and useful, it’s a great way to experiment with different engineering approaches.

Now, having spent years on it so far, I know I’m going to keep plugging away at it. How? Well, next steps include:

  • The public Cue code repository, with a proper open source license, and documentation
  • More discussions of the vision, product, design and engineering behind Cue
  • And of course, design updates and new features

Along the way, I’ve made product, design, and engineering decisions that took into account the user base - me - and may not work well for new users. Remember that flyout menu that’s shown when clicking the drag handle? Not exactly discoverable. But I am opening Cue up to anyone who wants to use it, for free. If you try it out, I’d love to hear what works, what’s confusing, and why you’re going back to your old system.

You see, I’ve been around the block when it comes to personal planning systems: Superself, Seven Habits, Getting Things Done, Timeblocking.

I firmly believe that personal planning systems always become “personal”: unique to you.

As I’m building Cue, I’m learning, and sharing what I learn and what I build. I hope it helps you build your own personal planning system.

And so, “Hello, World!”

Feel free to email me at rock@cueplan.com, if you want to say “Hello” back.

Blockstack: Windows Toolbox

It’s a good thing I got on the Blockstack Slack, because the approach I was taking was not sustainable. Sure, you can use windows subsystem for Linux and get pretty far along. I feel like I did. But once I ran into troubles the Slack team, Aaron specifically, helped me out by pointing to the just recently created Windows installer. It sets up a set of docker containers that run the Blockstack core, the browser, and a proxy service to allow you to use the browser on your windows machine without any problems*.

So I went through the setup of that and now have a fully functioning Blockstack browser on my windows box. I’m not sure if the windows installer is really ready for prime time, but I got the impression that the team would appreciate help tracking down issues with it. I’m sure if you join the Blockstack Slack and want to check it out, they’ll make it happen.

  • I did have one problem as I tried to get it working, and it actually turned into an addressable issue that I filed against their packaging repository. The browser and the core communicate with each other using a password to keep things secure. But because of how that password is passed, there are certain characters that are not allowed. After we tracked down that that was keeping my browser and core from communicating with each other, I got things working fine and filed the issue to have that documented, so it doesn’t trip others up in the future.

Blockstack: Buying My First Bitcoin

I’m going to need funds to participate in the Blockstack ecosystem, and right now, it’s built on Bitcoin. So it’s time to buy myself some Bitcoin.

I decided to go with Coinbase, mostly due to name recognition. As it turns out, setup is pretty easy. Just pick a username/password and a way to fund your account. I went with linking a debit card, because it’s faster. Giving them bank routing info would be cheaper and slower. So I will set that up for future transactions.

Coinbase has two factor authentication built in, and has you link your phone number to the account before you even setup payment information, so they can enforce that security.

Once it was all arranged, I bought quite a small amount of bitcoin. In other words, it’s really not worth trying to crack into my account. Now, I should be able to transfer some of those bitcoin over to my Blockstack account in order to handle the transactions that will need to occur as I setup my development environment and flesh out an actual application.

Blockstack: Getting on Slack

The Blockstack team has a Slack instance set up for communicating. I know I’m going to need help getting my onename registered name transferred into my personal wallet, so I can do development. So I decided to jump on so that I could ask my questions, and be a part of the conversation. To do that you just have to give them an email address and an explanation of why you want to join their Slack. Once again, the response was nice and quick.

Besides getting support, it’s also cool to see that Blockstack is fully transparent about their day to day work. You can see their daily scrum notes, design discussions, engineering decisions, and work on Blockstack apps in the various public channels.

Blockstack: Registering a Name

Time to get ourselves a name. As we learned yesterday, we could get a name by registering one ourselves, using our own Bitcoin wallet. But I don’t have one yet, and besides, the Blockstack team has built Onename.com to make it free to register a named id. The price to register the name still must be paid in btc, but Onename is sponsoring names to help bootstrap the Blockstack ecosystem. So we’ll do that, and then work through how to transfer that name for use in the Blockstack CLI later.

Obviously, we’ll start at onename.com.

The UI is very simple and clean. I just signed up for an account, entering my email address and a password.

I was then immediately prompted to choose a name. As I already know I want rockhymas.id, I chose that.

At this point, Onename gave me the option to save my Onename backup file to Dropbox, or to download it. I went with Dropbox, to make my life easier.

Next I set up my Onename profile, with an image, name, location, and website.

Finally, Onename lets you verify your identity on Twitter, Facebook, and Github. The process here is pretty straightforward. You claim ownership by posting public statuses provided by Onename in each service using your account. Then point Onename at those statuses, so it can verify that you posted the status they provided and then you’re all verified.

Finally, the name registration has to go through. Onename tells you it will take about 12 hours for that to happen. After waiting 24 hours, I contacted support to see if I could find out why it was taking so long. Support was really responsive, and got back to me within half an hour to let me know that registrations can take longer and to give it another couple days. After waiting over the weekend, still no luck. Contacted support again, they escalated to the dev team and within a day the registration had gone through. It sounded like other registrations may have gotten backed up as well. Yay for bleeding edge software!

So, at this point, I have rockhymas.id registered in Blockstack. Whew! The picture above comes from the Blockstack Explorer, which is a little tool that makes it easy to see blocks on the Blockstack virtual chain, and any associated names, including their history. You can check mine out at https://explorer.blockstack.org/name/rockhymas.id.